Firearms
Holster Retention Levels Explained - Which One Do You Actually Need?
Holster retention levels sound like industry jargon, but they describe something simple: how hard it is to pull your gun out of its holster. More retention means more steps to draw. That’s a real security tradeoff, and picking the wrong level for your situation, whether you’re carrying concealed in the city or running a sidearm on a backcountry hunt, costs you either speed or safety.
Here’s what the levels actually mean, how they interact with your carry setup, and how to pick the right one.
What Is Holster Retention, Anyway?
Retention is the force the holster applies to keep the firearm in place. There are two types that all the levels build on.
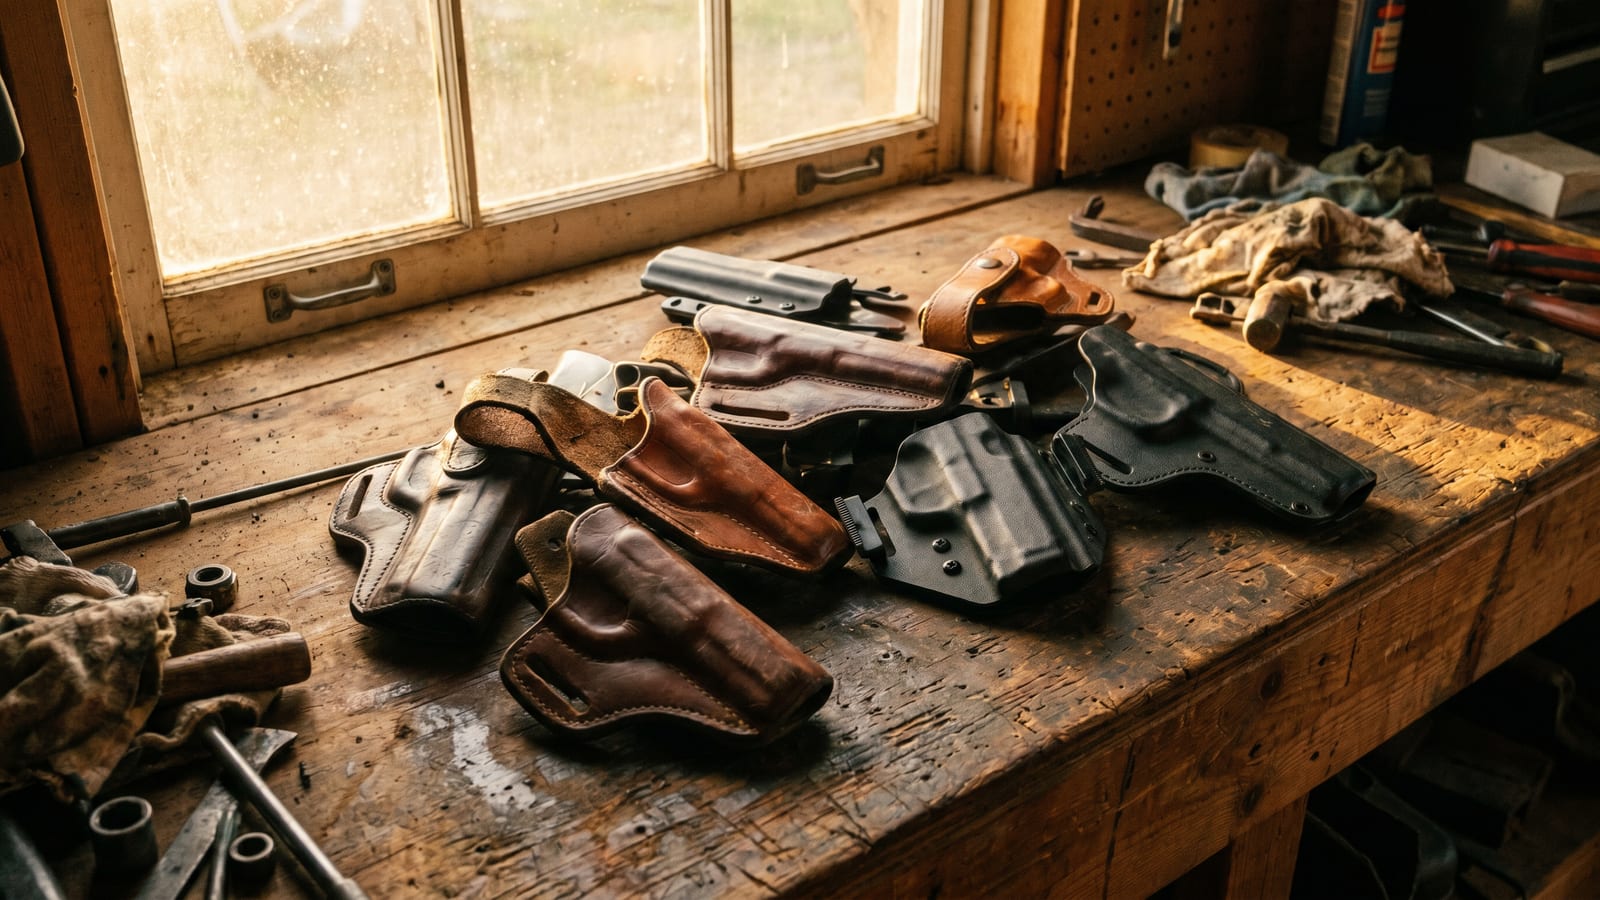
Passive retention is friction. The holster fits the gun snugly, and that friction keeps it seated without any mechanical components. You draw by pulling straight out. Simple, fast, but limited in how much resistance it can reliably provide.
Active retention is mechanical. Buttons, levers, thumb breaks, rotating hoods: these are physical components you have to disengage before the gun comes out. They add steps to the draw but add real security that friction alone can’t match.
Outdoor and field carry makes retention more important than most guides acknowledge. When you’re climbing, crawling through brush, or scrambling over wet rock with a loaded sidearm, you need confidence it’s staying put through falls, gear collisions, and awkward positions. Friction alone doesn’t always cut it in the field.
Understanding Retention Levels: Level I Through Level IV
The retention level system isn’t a formal regulatory standard. It’s a common-language framework that manufacturers and law enforcement trainers use to describe what a holster does. Here’s what each level means in practice.
| Level | Retention Type | Draw Steps | Common Use |
|---|---|---|---|
| Level I | Passive (friction only) | 1 | Concealed carry, range use |
| Level II | Passive + 1 active device | 2 | Duty carry, outdoor carry |
| Level III | Passive + 2 active devices | 3 | Law enforcement standard |
| Level IV | Passive + 3 active devices | 4 | High-security, corrections |
Level I is friction-fit only. No buttons, no levers. Your thumb hits the backstrap or guard, you pull, the gun comes out. This is the fastest draw possible and works fine on the range or for concealed carry where speed on the draw is a priority and the holster stays tight to your body.
Level II adds one active retention device, usually a thumb release button on the body of the holster or a rotating hood that locks the rear of the slide. You press or rotate the device with your thumb as you draw, so it’s still a single fluid motion once you’ve trained it. This is the most practical balance of security and speed for most carry situations.
Level III adds a second active device on top of Level II, typically a hood that also locks the front of the ejection port or a secondary lever. Law enforcement carries this standard because the risk of disarm in a physical confrontation is a genuine threat. The draw takes two deliberate steps. Training requirements jump significantly.
Level IV adds a third mechanism and is built for maximum security: corrections officers, courthouse work, situations where the gun must not move under any circumstances and draw speed is secondary. You’ll rarely see this outside specialized professional use.
How Retention Level Affects Your Carry Setup
This is the piece most guides skip entirely, and it matters a lot for outdoor carry.
Level I holsters are mostly IWB (inside the waistband) or minimalist OWB (outside the waistband). The friction fit design requires the holster to hug the gun closely, which works well against your body but doesn’t translate to an open platform like a drop-leg system. These holsters are small, light, and concealable, but their security depends entirely on that snug fit.
Level II and Level III holsters are almost always OWB or drop-leg. The mechanical retention devices add bulk and require clearance to operate: you need your thumb to reach the button or hood without being obstructed. That geometry makes IWB carry impractical. If you’re running Level II or III, you’re wearing it openly on a belt platform or a drop-leg rig.
That has a real implication for concealment. A Level III duty holster with a rotating hood and hood lock is not something you’re hiding under a jacket. If your carry situation requires concealment at any point, you’re capped at Level II at the most, and more likely Level I.
For outdoor and hunting carry (where you’re not trying to conceal the firearm), this isn’t a limitation, it’s a feature. An OWB holster on a sturdy belt or a drop-leg gives you better retention under physical stress than anything stuffed inside a waistband, and Level II or III mechanical retention adds peace of mind when you’re moving hard through terrain.
Choosing the Right Level for Your Situation
Pick one and commit to it. Here’s the breakdown.
Everyday concealed carry: Level I or Level II. If your carry is mostly street-level (walking, driving, urban environments), a friction-fit Level I is sufficient and maximizes your draw speed. If you want the extra security and are willing to put in the practice for the thumb-release draw, Level II is the better long-term choice.
Outdoor and field carry (hiking, outdoor recreation): Level II minimum. When your body is moving aggressively, gear is snagging and bumping the holster, and you may be upside down or on the ground at some point, friction alone isn’t enough. A Level II active retention holster on a solid OWB platform is the call.
Hunting (climbing, dense cover, extended backcountry trips): Level II, strongly consider Level III. A deer hunt where you’re crawling under fences, climbing over rocky outcroppings, and thrashing through brush is exactly the situation where a gun needs to stay put. The slower draw is an acceptable tradeoff for knowing you won’t end a day in the field by losing your sidearm, or worse.
Law enforcement and professional security: Level III is the standard, and for good reason. The risk profile is different. Train to it.
If you’re unsure, go Level II. It covers the widest range of situations without pushing you into training requirements that most people won’t actually fulfill.
Testing Your Holster Before You Need It
Don’t assume a new holster performs. Test it before it goes into the field.
Shake test: With an unloaded firearm, hold the holster upside down and shake it firmly. The gun should not move. If it shifts or drops, the retention is inadequate for anything beyond range carry on level ground.
Movement test: Holster the unloaded gun and run through your actual movement patterns: climbing motion, crawling on hands and knees, a controlled fall onto your side. The gun should stay seated. If you feel it shift during any of these, tighten the passive retention adjustment (most quality holsters have this) or reconsider the holster.
Draw verification: After movement testing, verify you can still execute your intended draw cleanly. If passive retention has tightened from testing or a new holster needs breaking in, your draw should still be consistent and clear the holster without snagging.
Do this at home, not at camp. Finding out your holster has a problem when you’re three days into the backcountry is not a good outcome.
Training Implications for Higher Retention Levels
Level I requires one thing: practice drawing from your carry position. If you carry at 4 o’clock OWB, draw from 4 o’clock OWB until it’s automatic.
Level II changes the motion. You need your thumb to hit that release button or rotate that hood as part of the same motion as your draw. This is learnable, but it doesn’t happen on its own. Most instructors suggest 500 deliberate repetitions at home with an unloaded firearm before you trust the draw under any stress. You’re building a muscle memory sequence, not just a single motion.
Level III adds another step. The draw sequence is now a multi-stage release, and under adrenaline, fine motor skills degrade. Law enforcement professionals train the Level III draw constantly. It’s not a casual skill. If you buy a Level III holster and carry it without consistent practice, you’re not more secure. You’re slower and more likely to fumble when you need the draw most.
The honest recommendation: don’t carry a retention level you can’t deploy cleanly under a light physical stress test. If Level III is the right choice for your situation, train until you own the draw. If you can’t commit to that, Level II is the better option for most civilian and outdoor carry scenarios.
Match the holster to your actual training, not your theoretical security needs.