Outdoor Skills
First Aid Priorities at an Accident: What to Do First
Most people freeze at an accident scene. Not because they’re cowards - because they don’t know the first aid priorities at an accident. Understanding first aid priorities accident protocols and acting in the right sequence is what separates helping from making things worse. The framework that keeps you on track is DR(S)ABC: Danger, Response, Shout for help, Airway, Breathing, Circulation. Work through it top to bottom, every time.
What to Do First at an Accident Scene (And Why the Order Matters)
You’ve probably heard of ABC - Airway, Breathing, Circulation. But plain ABC skips something that gets bystanders killed: confirming the scene is safe before you run in. DR(S)ABC fixes that by front-loading Danger first. Work the steps top to bottom, every time.
Step 1 - Check for Danger (Before You Do Anything)
Stop before you rush in. Take three seconds and look.
Road traffic is the obvious hazard - secondary vehicle strikes are far more common at accident scenes than people realize. Add to your scan: fire, fuel spills, downed power lines, machinery still running, and structural instability. On trails and in the backcountry: unstable terrain above you, ongoing rockfall, moving water nearby, and the mechanism of the accident itself. A scree slope that knocked someone down may still be moving.
The golden rule: don’t become a second casualty. If the scene is unsafe, call 911 and wait. One victim is already a crisis. Two accomplishes nothing.
Only move in when you’re confident the danger is controlled or past.
Step 2 - Check for Response
You’re at the patient. Establish responsiveness right away.
Speak loudly and directly: “Can you hear me? Open your eyes.” Give their shoulders a firm shake at the same time.
If a spinal injury is possible - a fall from height, any vehicle collision, a hit that may have snapped the head around - skip the shoulder shake. Use a loud voice plus an earlobe pinch instead. Same stimulus, far less movement.
What responsive looks like: eyes opening, any kind of verbal sound, movement in response to your voice. Any of those counts. If they’re responsive, you’re already in a better position than you feared. Keep them talking, keep them still, and don’t let them try to stand up.
No response at all means you move fast on the next steps.
Step 3 - Call for Help (Or Shout for It)
If there are bystanders, shout for help before you go further. Don’t say “someone call 911” - that gets ignored. Point at one specific person: “You in the blue jacket, call 911 right now.” Assigned responsibility gets action.
When 911 picks up, give them your location, number of casualties, the mechanism of injury, and your name. Stay on the line if they ask.
In the backcountry with no cell signal, this step gets harder. Your options:
- Identify the nearest trail marker, landmark, or GPS coordinate and give it to anyone going for help
- Send the most capable bystander toward higher ground or the trailhead to find signal
- Activate a PLB or satellite communicator (Garmin inReach, SPOT, Zoleo) - this is exactly what those devices exist for
With multiple casualties, delegate the call. One person handles 911, you handle the patients.
Step 4 - Airway
Open the airway first. That’s the first medical priority. For most patients, the move is the head tilt/chin lift: one hand on the forehead, two fingers under the chin, tilt the head back gently and lift the jaw forward. It works.
If spinal injury is suspected, use the jaw thrust instead: push the jaw forward from both sides without bending or rotating the neck.
Look inside the mouth for visible obstructions. Remove what you can clearly see. Don’t dig around blindly.
If the patient is breathing but unconscious, roll them into the recovery position on their side, top knee bent forward. This keeps the airway clear and lets fluid drain.
Step 5 - Breathing
Open the airway. Now check whether they’re breathing. Use all three at once for 10 seconds: look for chest rise, listen at the mouth and nose, feel for air movement on your cheek.
Normal breathing is quiet and regular. Know what normal is not: agonal gasping. These are slow, irregular, dramatic-looking gasps the body makes in the early minutes after cardiac arrest. They look like breathing. They are not breathing. If you see agonal gasps, treat the patient as not breathing and start CPR.
If they’re not breathing, start compressions immediately.
Not trained? Hands-only CPR still saves lives. Lock your hands together, center them on the chest, push hard and fast - 100 to 120 per minute, about 2 inches deep. Don’t stop until EMS takes over or you physically can’t continue.
Trained? 30 compressions, 2 rescue breaths, repeat. Follow your training.
Step 6 - Circulation and Bleeding
Confirm breathing or get it managed, then move to bleeding.
Direct pressure is always your first move. Press firmly with a clean cloth, bandage, or whatever you have. Sustain that pressure. Don’t lift the dressing to check - lifting breaks the clot you just started building. If blood soaks through, add more material on top and keep pushing.
For deep, gaping wounds, pack the wound cavity rather than just pressing the surface.
Life-threatening limb bleeding that won’t stop needs a tourniquet. Place a CAT or SOFTT-W tourniquet 2-3 inches above the wound, not over a joint. Tighten until bleeding stops. Note the exact time you applied it - write it on the patient’s skin if you have a marker. Don’t loosen it once it’s on.
Know the signs of shock: pale or ashen skin, rapid and weak pulse, cold and clammy skin, confusion or agitation. If you see these, lay the patient flat, elevate their legs if there’s no spinal or leg injury, keep them warm with a foil blanket, and do not give food or water. Your job is to slow the progression until they reach a hospital.
Spinal Injury - When to Suspect It and What to Do
The mechanism tells you most of what you need to know. High-risk scenarios: falls from more than standing height, vehicle rollovers, diving accidents, anything that violently compressed or rotated the neck.
Warning signs: neck or back pain, numbness or tingling in hands or feet, weakness in the limbs, loss of bladder control. An unconscious patient after any of these mechanisms gets treated as a spinal injury until proven otherwise.
Do not move them unless there is immediate danger you cannot eliminate - active fire, rising water, structural collapse. Movement can turn an incomplete injury into a permanent one.
If you absolutely must move: log roll with the head, neck, and spine kept aligned as one rigid unit. You need at least three people. One person stabilizes the head and directs the count. Nobody moves until the head person says go. Practice this before you need it.
What If You’re Alone? Triage When Help Is Delayed
Solo responder, one patient: run DR(S)ABC, call for help at step three if they’re breathing, start CPR if they’re not. Don’t leave an unresponsive patient to find signal unless there is truly no other way.
Multiple casualties - the person screaming is not your first priority. They’re conscious, they’re breathing, they can wait. The person who isn’t making any sound is your priority. Silence at an accident scene is a danger signal.
SALT triage works well in backcountry scenarios: Sort (who needs immediate intervention), Assess (quick check), Lifesaving interventions (tourniquet, open airway, chest seal), Treatment and Transport. Work through the silent, still patients first.
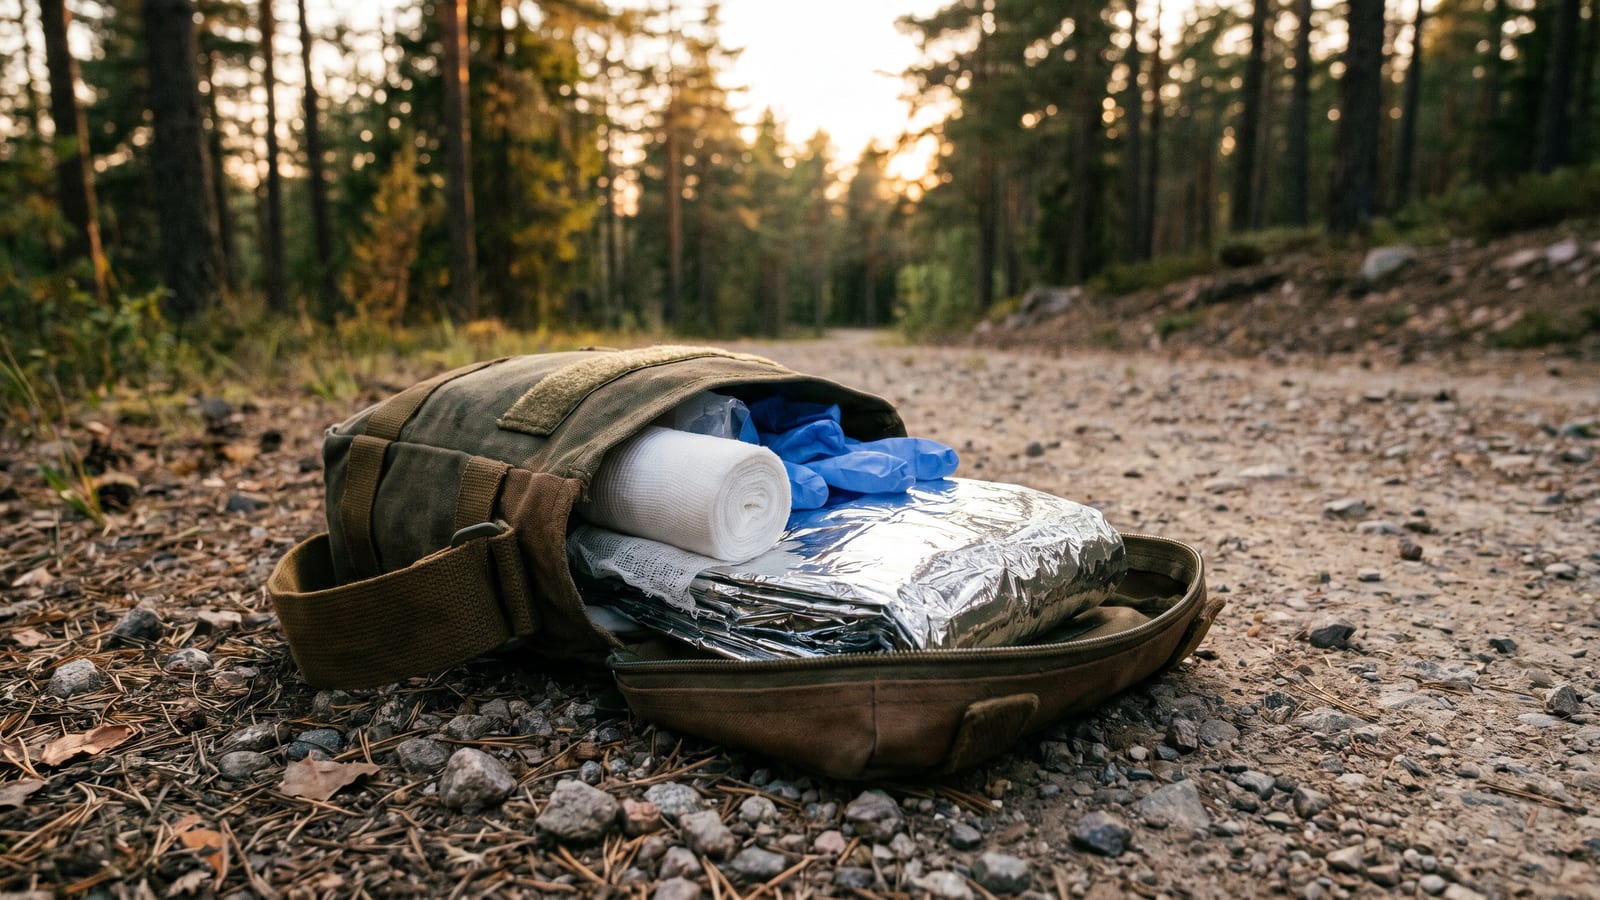
The First Aid Kit That Actually Helps at an Accident
For outdoor and remote scenarios, carry:
- Nitrile gloves - multiple pairs, because one pair tears or fills with blood fast
- Pressure bandage - Israeli bandage or equivalent, designed for one-hand application under stress
- CAT or SOFTT-W tourniquet - the real thing, not a knockoff, and know how to use it before you need it
- Hemostatic gauze - QuikClot or Celox, for wounds that can’t be tourniqueted
- Emergency foil blanket - shock and hypothermia prevention
- CPR face shield - small and flat, removes one barrier to rescue breaths
Keep the kit accessible. Hip belt pocket, top lid, or chest pouch - somewhere you can reach in under 30 seconds without taking your pack off.
Bottom Line
The sequence matters more than any individual technique. DR(S)ABC - memorize it and work it in order every time. Don’t skip steps because they seem obvious.
Reading a guide builds a foundation. Take a Wilderness First Responder course if you spend serious time in the backcountry, or at minimum a Stop the Bleed class. Hands-on practice with an instructor is the difference between knowing the steps and being able to execute them under pressure.