Camping
Pressurized Camp Showers - Real Backcountry Pressure
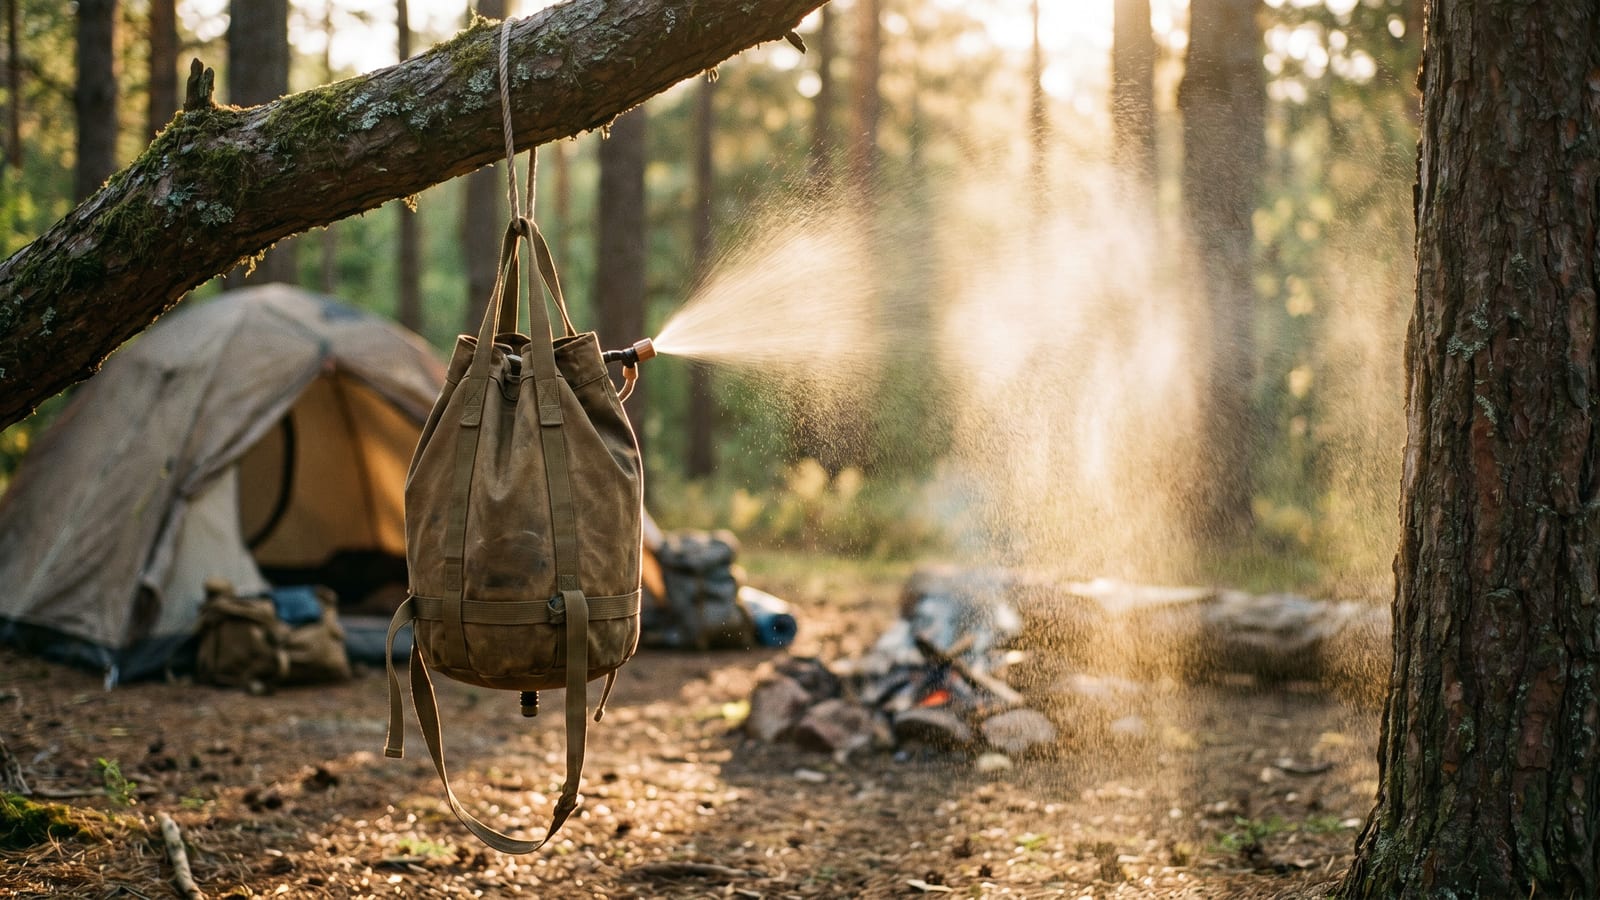
Solar camp showers work until you need to rinse shampoo out of your hair. Gravity feeds a thin trickle that makes you realize how much you take for granted about indoor plumbing. A pressurized camp shower solves the problem, giving you actual spray pressure without a hookup. Here’s what you need to know to pick the right system and use it effectively.
Why Pressurized Systems Outperform Gravity
A solar bag hanging 3 feet above your head produces about 1.3 PSI of water pressure. For reference, a standard showerhead in your home operates at 40-60 PSI. You’re showering with the water equivalent of a slow drip from a garden hose.
Pressurized camp showers use one of three mechanisms to build pressure:
Hand pump: You squeeze or depress a lever repeatedly to build air pressure in an enclosed bladder. The air pushes the water out at a usable flow rate. Effective but requires effort - typically 20-30 pumps for a 3-5 gallon bladder.
Battery-powered pump: A small submersible pump sits in the water container and pressurizes on demand when you open the valve. More convenient than hand pumping, but adds battery weight and something to manage.
Compressed gas cartridge: CO2 cartridges pressurize a sealed bladder instantly. Fast and effective but consumable - CO2 cartridges aren’t always easy to find in rural areas.
Each mechanism has a meaningful effect on shower experience. The difference between 1.3 PSI and even 15-20 PSI is not subtle. You can actually rinse effectively. Soap comes out. Hair gets clean. That’s the baseline you’re after.
Types of Pressurized Camp Showers
Integrated gravity-pressurized bags
These are upgraded solar shower bags with a separate pressurized chamber. You fill the main bag, hang it in the sun to heat, then pressurize the separate chamber with a hand pump. The sun-heated water sits below; the pressurized chamber sits above it, and a valve controls flow. You get heated water and pressure in one unit.
Examples: Sea to Summit Pressureell, Nemo Helio Pressure Shower.
Pump-action bladder systems
A collapsible water container with a built-in hand pump. Fill, pressurize with the pump, connect a hose and showerhead. Everything collapses flat for packing.
Examples: KIDSII敏, Road Shower.
Battery-powered shower kits
A submersible pump with a hose and showerhead. Place the pump in any water container - a jerry can, a river bag, a bucket - and connect to the showerhead. The pump creates pressure and flow. Some units include a heating element.
Examples: Dr. Prepare Solar Shower, DIWA Digital Portable Camping Shower.
CO2-pressurized systems
A sealed bladder with a valve for CO2 cartridge insertion. Screw in a cartridge, CO2 fills the headspace above the water, and you’re at full pressure instantly. No pumping, no batteries.
Examples: Schaefer Sanitone, some custom setups.
What Actually Matters When Buying
Pressure output. Check whether the manufacturer lists PSI. If they only say “high pressure” or “powerful spray,” be skeptical. Aim for something that reaches at least 15-20 PSI for a usable shower.
Hose and showerhead quality. Cheap plastic showerheads crack or clog. A metal showerhead with multiple spray patterns is worth paying for. Check that the hose is long enough - 6 feet minimum for a comfortable setup, more if you’re showering in a change tent.
Water temperature control. If you’re using a solar-heated source, you have no temperature control beyond mixing hot and cold manually. Battery pump systems with heating elements give you actual temperature settings but consume more power.
Durability of the pressure chamber. Repeated pressurization stresses the seams and valves. Look for reinforced bladder construction and replaceable seals. A unit that costs $15 and lasts one season is not a better deal than one that costs $40 and lasts five.
Drainability in freezing conditions. Water left in a pressurized bladder and frozen will rupture the seam. If you’re camping in conditions where temps drop below freezing, you need to fully drain the system after every use or skip pressurized entirely.
Setup Tips for Better Performance
Pressurize before you uncloth. Build the pressure while you’re still dry. Opening the valve and finding you need 15 more pumps is less annoying before you’re naked and soapy.
Use a clothesline or paracord setup for the showerhead. Hanging it from a tree branch at chest height with enough reach to rinse everything without stretching or adjusting is the goal. A carabiner and adjustable cord makes this fast.
Control flow at the showerhead, not at the valve. Leave the bladder valve fully open and use the showerhead’s spray pattern or on/off switch to control flow. This keeps pressure consistent rather than building and releasing repeatedly.
Rinse from top to bottom. Start at your shoulders and work down. This prevents you from soaping up, then realizing you need more pressure to rinse. By the time you’re at your feet, you know exactly what the system can do.
When a Pressurized Shower Is Worth the Weight
A pressurized shower system adds weight and complexity compared to a simple gravity bag. For an overnight trip in warm weather near a lake, it’s probably overkill - jump in the water. For base camping where you’re staying three or more nights, extended road trips, or any situation where hygiene directly affects comfort and morale, it’s worth carrying.
The target use case: hunting camps, overland travel, remote fishing trips, festival camping, or any multi-day trip where you’re away from facilities and want to stay functional. A 3-gallon pressurized shower is enough for 2-3 full showers for one person if you use water efficiently.
If you’re going ultralight and moving camp every day, a simple solar bag is still the lighter option. Pressurized makes sense when you’re staying put and comfort matters.