Tactical · Firearms
Concealed Carry Fundamentals for New Carriers
Understanding concealed carry fundamentals means accepting that the responsibility does not end when you get your permit. The actual practice of carrying is not complicated but it requires discipline, consistent practice, and an honest understanding of what you are signing up for. This guide covers what you actually need to know to start carrying responsibly.
The Mindset Comes First
The firearm is the last resort, not the first tool. That framing is not philosophical - it is practical. Drawing your weapon in any situation, justified or not, creates legal, physical, and emotional consequences that last long after the incident. Concealed carry means internalizing that the gun is always the last line.
This does not mean being passive or accepting victimhood. It means being aware of your surroundings, avoiding situations that escalate, and de-escalating when possible. Most self-defense situations are won by people who saw trouble coming and left before it arrived, not by people who drew faster.
Concealed carry changes your daily decision-making. You cannot drink at a bar and still carry legally in most states. You cannot get into arguments the way you might have before. You take more off-ramps, not fewer. That adjustment takes time and conscious effort.
Choosing Your Carry Firearm
The best concealed carry firearm is the one you will actually carry every day. That sounds obvious but it is the most common mistake new carriers make: they buy a compact 9mm that is too small for their hands, too stiff to shoot well, and sits in a drawer because they never practice with it.
Size and concealment are the first variables. A firearm that prints visibly through your clothing or that you leave at home because it is uncomfortable to wear is worthless. The gun needs to be small enough to carry comfortably in your preferred carry position for extended periods.
Shootability matters more than caliber debates. The .380 ACP versus 9mm debate is real but secondary to whether you can place accurate shots under stress with the gun you are carrying. Most people shoot a compact 9mm significantly better than a snub-nosed .38 special revolver. If you are more accurate with a 9mm that is slightly harder to conceal than a .380 you shoot poorly, carry the 9mm.
Reliability is non-negotiable. Any firearm you carry for defense must function without malfunctions over thousands of rounds. Popular choices like the Glock 19, Sig Sauer P365, Smith and Wesson Shield, and Springfield Hellcat have track records of reliable service. Avoid obscure brands or designs without a proven reliability record.
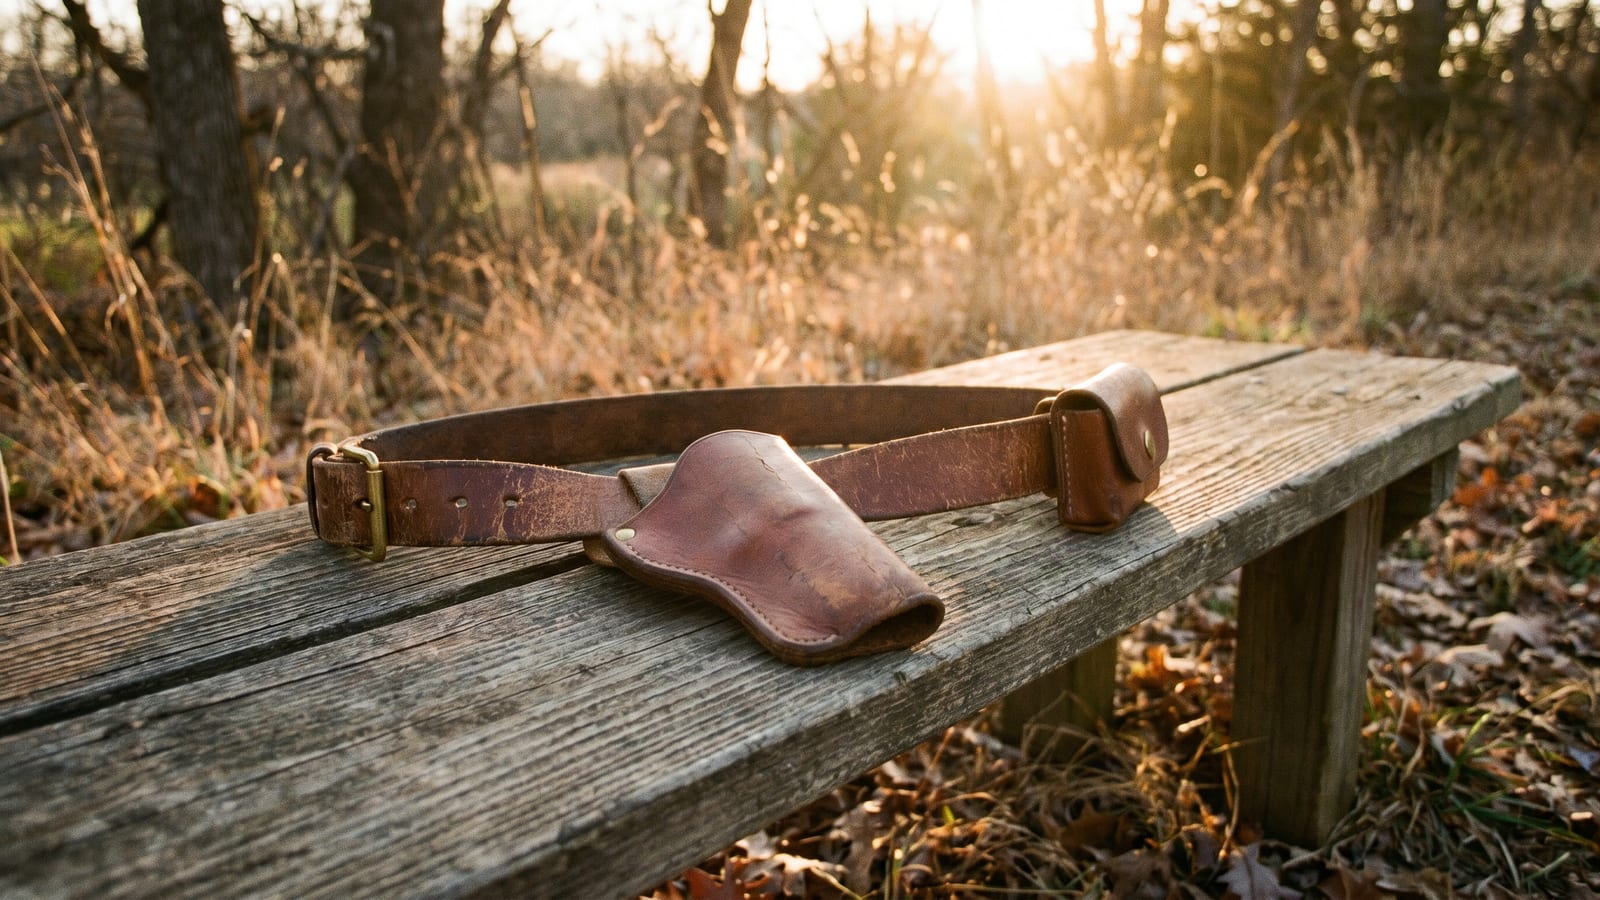
Holster Selection
The holster is as important as the firearm. A bad holster makes carrying uncomfortable, creates safety risks, and leads to inconsistent drawing.
Inside the waistband (IWB) is the most common concealed carry position. The gun sits inside your pants, held against your body by a belt. IWB concealment is excellent because the waistband and shirt naturally cover the firearm. The trade-off is comfort: a hard plastic or Kydex holster against your body for 12 hours is noticeable.
Outside the waistband (OWB) carry places the holster on the outside of your pants, typically on a belt. OWB is more comfortable for many people and allows faster draws, but concealment requires a cover garment like a jacket or untucked shirt. OWB works well for rural and outdoor carry where you are not trying to hide the fact that you are armed.
Ankle carry is an option for backup firearms or for people who cannot carry at the waist. The draw is slow and awkward. Ankle carry is a supplement, not a primary carry method.
The holster material matters. Kydex is rigid, consistent, and maintains its shape regardless of temperature or moisture. It does not collapse when the gun is drawn, which makes reholstering easier and safer. Leather holsters are more comfortable against the body but soften over time and can collapse around the trigger guard, creating a safety risk when reholstering.
Your holster must cover the trigger guard completely. This is not optional. A holster that exposes the trigger to your finger, clothing, or debris is not safe for carry.
Carry Position
Where you carry affects both concealment and your ability to draw quickly and consistently. There is no universally correct position - it depends on your body, your wardrobe, and your lifestyle.
Strong side (3 o’clock to 4 o’clock) is the most common carry position. The gun sits on your dominant side, in front of the hip. Drawing is natural for right-handed shooters. This position works with both IWB and OWB holsters and is comfortable for most people.
Appendix carry (1 o’clock to 2 o’clock) places the gun in the front of the waistband, between the hip bones. Appendix carry offers fast access and excellent concealment but requires discipline: you must ensure your finger is indexed on the frame before drawing, and you must be careful about the muzzle direction throughout the draw stroke. Not recommended for new carriers without professional instruction.
Small of back (6 o’clock) is comfortable when sitting and concealed well. However, it is a poor position for drawing quickly and creates genuine risk of spinal injury if you fall on the firearm. Most instructors recommend avoiding small of back carry.
Consistency matters more than the specific position. Carry in the same position every day so drawing becomes automatic. Switching positions regularly means your muscle memory will be wrong when you need it most.
The Draw
Drawing from concealment is slower and more complex than drawing from an open holster. Clothing is in the way. Your grip needs to establish before the gun clears the holster. You need to practice this regularly.
The basic sequence: establish your grip on the firearm while it is still holstered. Pull your cover garment up and out of the way with your weak hand. Drive the strong hand straight up to the holster while establishing your master grip. Remove the firearm from the holster, bringing it straight up along your torso. Press the gun forward to full extension or compressed ready position as your weak hand meets it. Identify your sight picture and address the threat.
Practice this dry at home until the sequence is smooth and the same every time. Then take it to the range. Shooting from concealment requires you to draw from your actual carry position with your actual carry gear. Practice with what you actually carry, not with an unloaded gun on a coffee table.
Legal Considerations
Concealed carry law varies significantly by state. Permit reciprocity - the recognition of your state’s permit by other states - is a patchwork. What is legal in your state may not be legal in the state you are driving through.
You need to know the laws in every state where you plan to carry. The US Concealed Carry Association and the National Rifle Association maintain reciprocity maps and state-by-state summaries. Check them before traveling.
Most states have provisions around where you cannot carry: government buildings, schools, airports (past security), and private property where firearms are prohibited. The rules on private property vary - some states require the property owner to post signs, others do not. Know what applies.
The use of deadly force is governed by state law. Every state has a different standard for when lethal force is justified. In some states you must retreat if there is any possible means of escape before using force. In others you have no duty to retreat in places you are legally entitled to be. Do not assume your home state’s rules apply wherever you travel.
After any defensive shooting, you will face legal scrutiny. That is not a reason not to defend yourself. It is a reason to be aware of the legal landscape and to understand that a justified shooting will still cost tens of thousands of dollars in legal defense even if you are fully acquitted.
Maintenance and Practice
A carried firearm needs regular maintenance. Carbon fouling, dirt, and debris accumulate in the chamber, barrel, and action. A thorough cleaning every few weeks of your carry gun keeps it functioning reliably.
Check your firearm before carrying it. Confirm it is loaded with the correct ammunition, chamber is clear of obstructions, and the holster is clean and undamaged. This takes 30 seconds and should be a habit.
Dry fire practice keeps your draw and trigger press sharp between range sessions. You do not need a range for this. Five minutes of dry drawing and trigger work per day builds muscle memory faster than monthly range sessions alone.
Live fire practice should happen regularly. The absolute minimum for a carry permit holder is quarterly range time with enough rounds to confirm the firearm functions and your fundamentals are intact. Monthly is better. If you carry daily, shooting monthly keeps your skills current.
Our Take
Start simple. Buy a reliable mid-size 9mm pistol from a mainstream manufacturer. Carry it in a quality Kydex IWB holster at 3 or 4 o’clock. Spend as much on training as you do on the gear. A $400 pistol with $600 worth of professional instruction beats a $1,500 race gun carried without training.
The permit is the beginning, not the end. The day you stop treating carry as an ongoing practice is the day you become a liability instead of an asset to your own safety.
Carry responsibly, train consistently, and know the law.